There is really nothing like working from home,
the comfort of being able to work in your own space can do wonders for work ethic and performance.
Setting up a home voice over studio can be challenging for a beginner.
But we can all agree that setting it up right can make for a great source of supplemental income for you and your family.
I was recently helping a close friend of mind with setting up a voice over studio inside her home,
She had a couple of ideas but she called me to help out and share my audio production expertise,
Her knowledge combined with mine made us build a successful and well optimized space specifically meant for voice over work.
if you’re reading this im assuming you’re thinking of starting your own voice over studio.
this post will discuss everything you need in order for you to get started, so read on!
Budgeting

Before you even begin to start thinking of all the equipment that you want to get,
it’s important that you have a budget at the ready.
Have a checklist of all the items that require setting aside some money,
This will help you stay within your spending limits which are really important in this case.
It would be careless to spend so much money on one item,
to the extent that the cost of that item makes it impossible for you to
acquire the other important things that you need for your home voice over setup.
A little planning and budgeting can take you a long way and it can help you
stay out of financial trouble that can bring your set up to a halt.
it’s always essential to know how much everything will cost, and how long
it will take you to make that money back,
once your voice over studio is up and running.
with budgeting comes the essential plan of risk to reward, which is key in any business.
when I started my first music studio I only had $1000 to spend on equipment,
and I made it work only through having a budget for everything.
I made sure I focused on getting the most essential equipment first,
then later on in my journey, I went ahead and started getting the less essential things like studio lights.
I was able to have a consistent business generating income in about 4 months whilst using only the essential gear.
the lesson here is financial planning and budgeting.
Picking the right room

Before you go ahead and start spending money on gear and the like,
it is important that you take the necessary time to choose the right room.
Think of the room as your place of business and pick a room that can portray that message.
For example hair salons are set up in rooms that are fairly large and can accommodate a number of people,
plus the location of the space is in a place where there’s a reasonable number of people that pass by (foot traffic).
A Lot of foot traffic is necessary for a salon business because you’ll need walk-in clients that can easily access the services being offered.
You can use the same tactic in picking a space and a room for your voice over studio.
in this post i discuss a home setup,
which means picking a room that can portray the message you want to portray to your clients.
Avoid Noise
It is always essential to pick a room that is furthest away from noises like car traffic, street noises and other sources.
Also avoid rooms that are near noisy rooms,
As a sound engineer that makes a living producing audio,
I advise you pick a room that is away from the noise,
even with sound proofing present ,
you still need to put a decent amount of space between your room and the noise source,
plus, an isolated room will also be beneficial to other people in your home because you’ll shield them from any noise that may be coming from inside the voice over studio.
Space
Ensure that the room you pick is spacious enough for it to accommodate people,
the nature of voice over work will require you to have a big enough room for your clients to be able to feel comfortable in during your business meetings.
You also need space for all your gear,
a small room filled with equipment may not be the best place to have clients in because it would inconvenience them.
So in addition to having an isolated room away from noise,
ensure you pick a room that is properly spaced out,
well enough to accommodate all your gear and clients and other people that may be called in to work with you.
Make sure you optimize the space by properly arranging all your gear, making sure that your work area is separate from your client area.
Soundproofing the room
After selecting the room that you feel is the least noisy and/or isolated,
your next task will be to soundproof your room to ensure that it is ready for audio recording.
One thing you have to understand about audio recording is that ;
the room itself matters the most when it comes to getting the right quality audio.
That is why soundproofing is a must.
Especially if you notice some noise or any other unwanted sounds being caught by your microphone when you try to record.
For those that feel soundproofing may put a dent in their budget,
Not to worry you can soundproof your recording room without having to do a lot of renovating work to your space which can save you money.
Soundproofing your space for voice over work
Keep noise out of the room
The main goal of soundproofing is to keep any unwanted noises from entering the room and to get rid of any sound reflections in the room.
Therefore it is essential that you look for areas around the intended work room that are generally letting noise in;
it could be cracks in the wall, or it could be the space underneath your door or any gaps.
This is why it is important to find these noise spots and deal with them accordingly.
You may use an inexpensive sweep to take care of the space underneath your door.
For your walls you can go for some wall insulation material like adding another layer made of drywall to stop any noise from entering the room.
I only recommend adding a second layer of drywall because it will cost lesser than having to tear down the entire wall and rebuild it again.
Another method you can use to soundproof your wall is to use acoustic panels to cover the parts of the wall that are particularly noisy.
If you can’t fit acoustic panels into your budget then I would recommend using egg crates to cover the wall,
But note that you’ll eventually need to buy acoustic panels or add another layer of drywall to the wall in order for you to keep noise completely out,
Egg crates may work but they won’t work as well as acoustic panels or an additional layer made of drywall.
Make sure you also stay away from bare walls when recording to avoid sound from bouncing to and from them
and being recorded back into the microphone.
If you’re low on funds another alternative to dry wall is carpeting your floor and your walls,
Then you can also cut up the carpet into pieces
that can fit the small openings on your windows to make sure noise stays out.
As far as sound reflection goes,
carpets are not particularly ideal for low frequency adsorption which may affect your sound quality,
that is why I recommend hardwood flooring for a recording studio set up.
To get more insight on the options you have on flooring, I have an article dedicated to flooring here.
Be sure not to go over board with your soundproofing,
because if you use too much insulation inside a room;
you’ll tend to lose most of the high end frequencies,
plus you don’t want your room to be filled with panels and insulation.
What you’re striving for is reducing noise and dampening any noise sources
and you must ensure that it is done in moderation.
if you don’t have the money for sound absorption material you can hang fabric on the wall (like old curtains) ,
Pay attention to also add fabric to the corners of the room to reduce echo.
Proper soundproofing should keep noise out therefore,
Make sure you choose the right room and soundproof it as necessary.
Equipment
After you’re done choosing a room and making sure it is properly soundproof,
The next step is to start buying equipment that is necessary for your voice over setup.
It is now time to start shopping and marking off items on the checklist you created for your equipment.
Microphone
You need a microphone to record your vocals,
There are a wide variety of microphones available, that you could use in your voice over work.
But it all comes down to the two categories of microphones that are available on the market, which are Dynamic Microphones and Condenser Microphones.
Dynamic Microphones are not as sensitive as compared to Condenser microphones,
Which means you can pick noise with Condenser mics if your room is not well treated for acoustics so keep that in mind.
How to choose a microphone:
Test
Test as many microphones as you can before deciding on one,
If you have somebody already involved in voice over work you can simply
ask to borrow the microphone and test it and see if it is able to capture your voice properly.
Condenser microphones are known to pick up a lot of detail,
so you can test out a variety of these types of microphones.
When testing also figure out the dynamic range of the microphones by testing how the mics work when you try and record from a distance.
You can go for USB Condenser mics, Dynamic broadcast mics or Large diaphragm condenser mics.
Please avoid handheld microphones.
Price
You’ll also want to evaluate the prices of the microphones,
Your budget should really determine what microphone you end up choosing.
But don’t be mislead into thinking expensive microphones are better than inexpensive ones.
All you need is a microphone that can get the job done and is affordable.
Response
Another thing you have to consider is the frequency response of the microphone.
If you’re a Male go for a microphone that is able to pick up low and bass frequencies,
If you’re female consider choosing a microphone that is able to pick up high frequencies.
But make sure test out both high and low frequency microphones in order
to figure out which one will be best for the work you intend to carry out.
DAW software

The daw or digital audio Workstation is the software that you’ll use to record and edit your work.
You need a DAW that can deliver ease of use and the right plugin effects to produce good quality audio.
If you have an audio engineer that works on your vocals then their
preference will probably matter in choosing the daw to go with.
I have a detailed article here on digital audio workstations for home recording, that can be useful to your work.
Computer

More than anything you need a computer to record and be able to edit your vocals.
All you need is a computer that can get the job done, you don’t need a computer that is fully outfitted for fulltime studio production.
Your computer should just be able to record, edit and process wav files.
Use what is available or something you can afford,
Nothing complicated at all.
Most of the time voice over artists are just recording and sending the wav files via email and alot of computers can handle that.
A desktop or laptop can work just make sure it has atleast 3 usb ports.
Audio interface
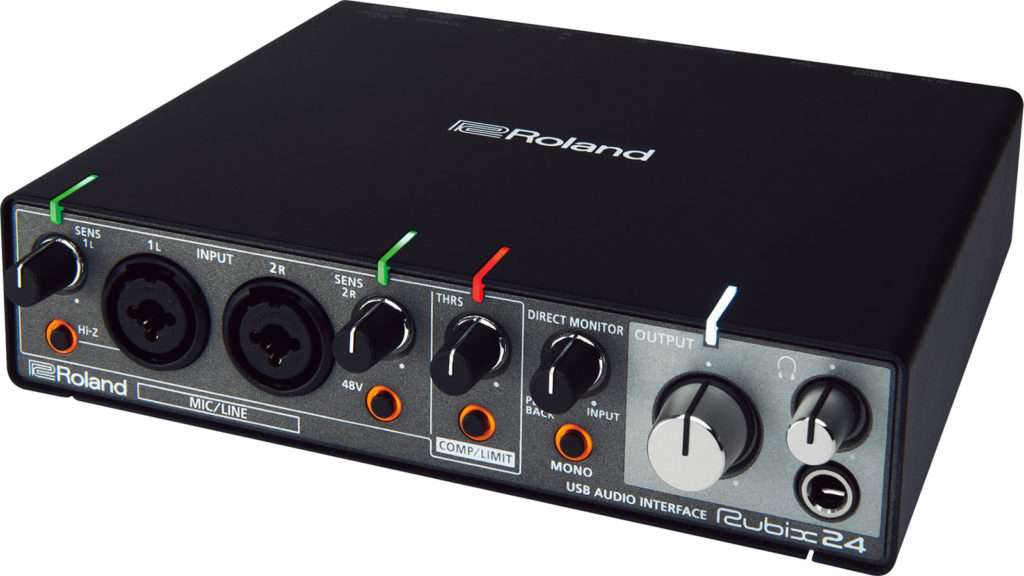
I recommend using an audio interface over pre amplifiers.
Audio interfaces are better equipped signal converters that offer a great deal in audio quality.
Choosing the right interface depends on the budget you have.
You don’t need anything fancy, like I’ve mentioned go for essential equipment that can get the job done.
Pop filter
Pop filters make a great difference when it comes to voice over work,
as they are able to reduce or control
Plosive sounds that are made from words that have the letters P and B.
These sounds are heavily exaggerated when one is speaking too close into the microphone and hence the interaction between the diaphragm of the
microphone and these sounds lead to what is referred to as a pop sound.
A pop filter therefore acts as a barrier between the microphone and the person speaking into the microphone.
They are very essential as you’ll want clean vocals.
Pop filters are really beneficial because they work on both the low end and high end frequencies.
Choosing the right pop filter.
The size
The pop filter that you’ll use will greatly depend on the size of your microphone, one that will be able to block sounds even if you tend to move your head alot when recording.
The shape of the pop filter
This matters alot because people record differently.
A curved pop filter for voice over work will be more ideal.
The mount.
You need a mount that you can properly screw into the frame of the filter and the clamp.
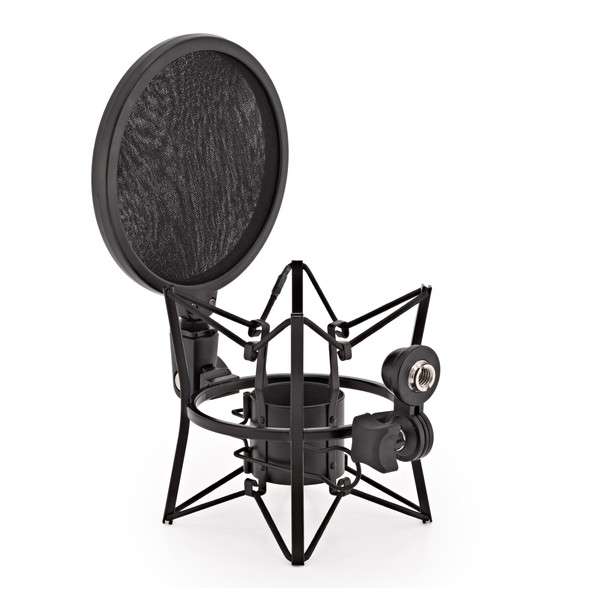
Mic stand
The stand you’ll use will depend on whether you’ll be sitting at a desk or standing during the recording process.
If you’re going to be sitting at a desk then you should go for a desk stand,
if you’re going to be standing then you’ll need a floor stand.
You will also need a shock mount that can block unwanted noises when you’re recording.
But if it doesn’t fit into your budget then you could hold off on buying one.
Headphones
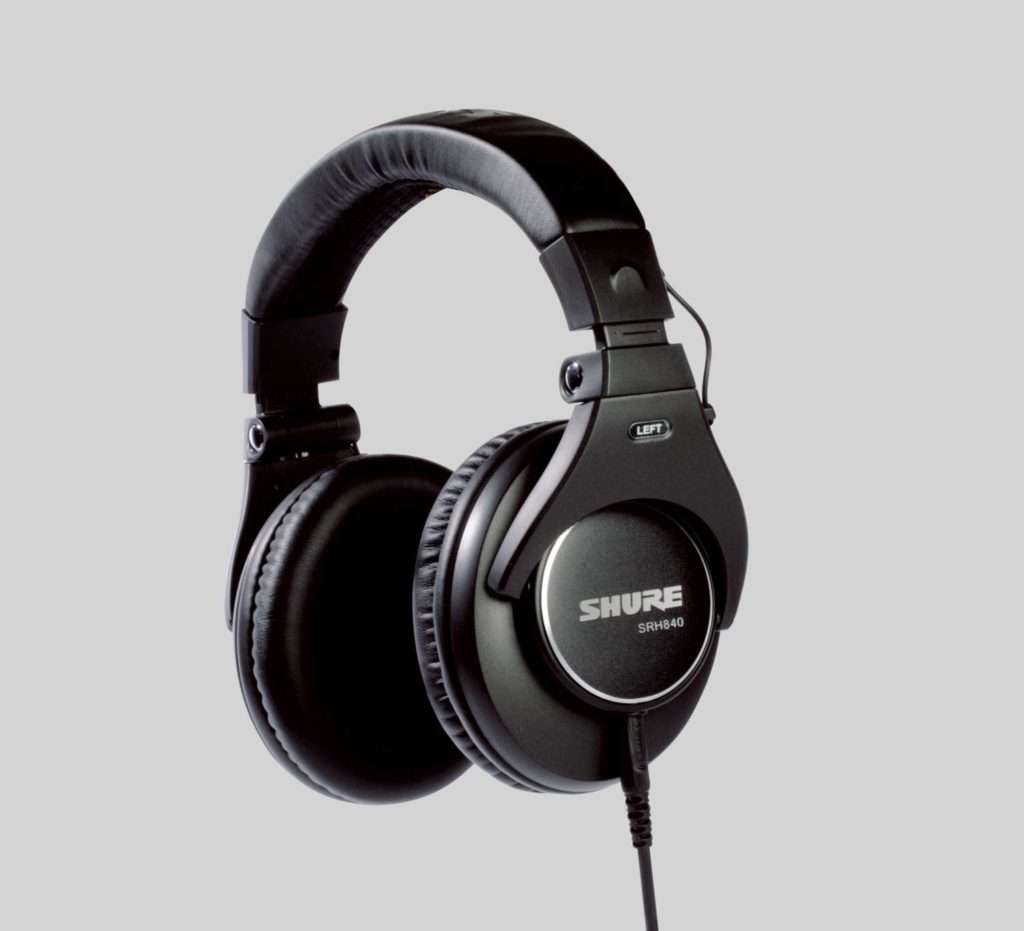
You’ll need headphones in order for you to monitor the quality of the audio, therefore invest in some good studio headsets.
Avoid in-ear headsets at all cost, because they tend to misinterpret frequencies a lot.
With most ear buds, the low end is exaggerated which is bad when you are trying to edit and listen to audio because you won’t get the correct representation of the vocal.
Shure headphones are better for voice over work,
Make sure you do a product search for them and see which ones fit your style and budget.
Related Articles You May Find Interesting
What Software Do Voice-over Artists Use?
How Do I Set Up A Voice Over Studio At Home? – Spotlight