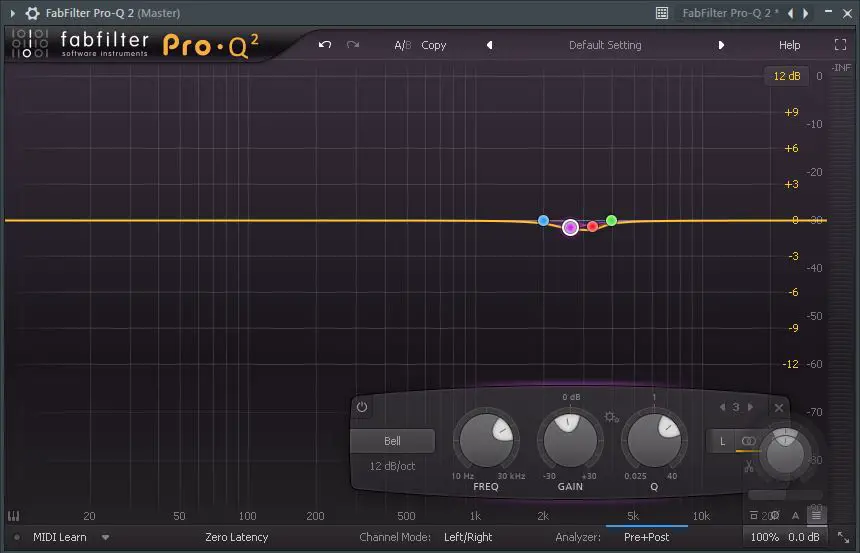
To EQ hi-hats effectively, start by identifying the characteristics you want to enhance or control. Typically the best common hi-hat EQ settings are:
Boost 3 kHz To 6 Hz to bring out the brightness and sizzle of the hi-hats to make them less dull.
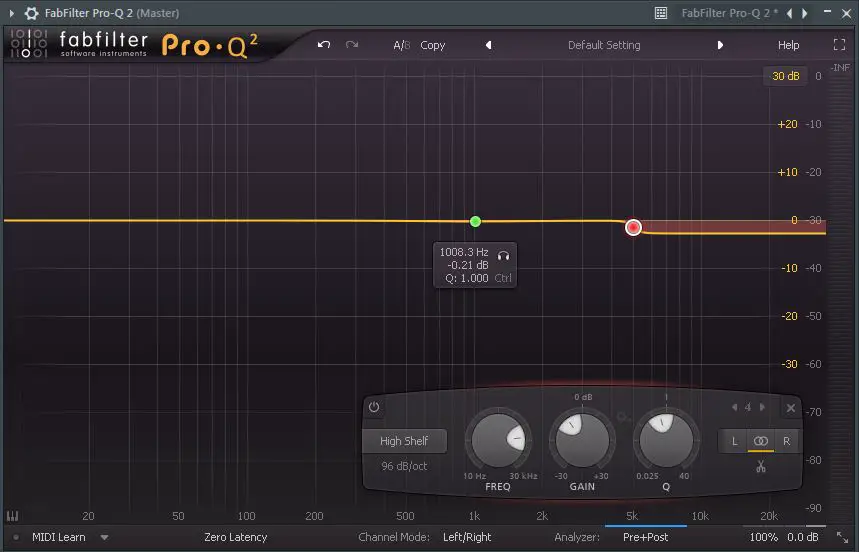
Apply a high pass filter to remove low frequencies usually below 200 to 300 Hz to enhance clarity and eliminate muddy frequencies.
Cut 2-4 kHz to make the hi-hats less harsh
Give the hi-hat some body by making small boosts in the 1 to 2 kHz area.
Now that you have a brief understanding of how you can EQ hi-hats and what particular areas you can focus on, below is a step-by-step detailed walkthrough of how you should EQ hi-hats:
STEP 1: Listen & Identify Problems with your Hi-hats
The first step in EQ’ing hi-hats is listening to the whole mix and then determining what changes need to made using EQ.
As a guideline, below are some of the common issues you’ll encounter with Hi-hats in a mix:
- Harshness
- Muddiness
- Thinness
- Dullness
- Clashing
Hi-hat Harshness
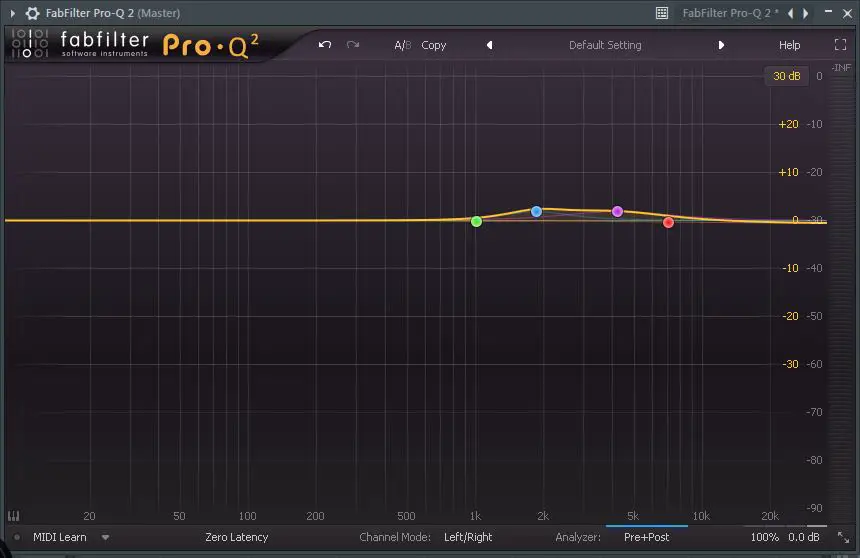
You’ll find the harshness in the higher frequencies of the hi-hat. To address them you need to use a narrow band EQ to identify the offending frequencies.
Sweep the EQ across the mid and high frequencies until you locate the problem areas.
Once identified, reduce the gain in those specific ranges.
Most run-of-the-mill hi-hats found in most urban drum kits sound too bright because sample creators and curators process them to make them sound better or fit a specific theme.
As a result hi-hats can sound harsh or piercing in the mix, if they’re not equalized.
You can limit these harsh frequencies by cutting in the 2-4k frequency range but always refer to the full mix to get better context.
Make small incremental cuts (preferably a few dB) and then listen to determine if you need to tame that area more or only slightly.
Avoid deep frequency cuts because this can put a hole in the sonic characteristics of the hi-hat.
Your goal should be striking the right balance.
Hi-hat Muddiness
To address muddiness, start by applying a high-pass filter. Set the filters cutoff frequency to remove frequencies below 300-500Hz.
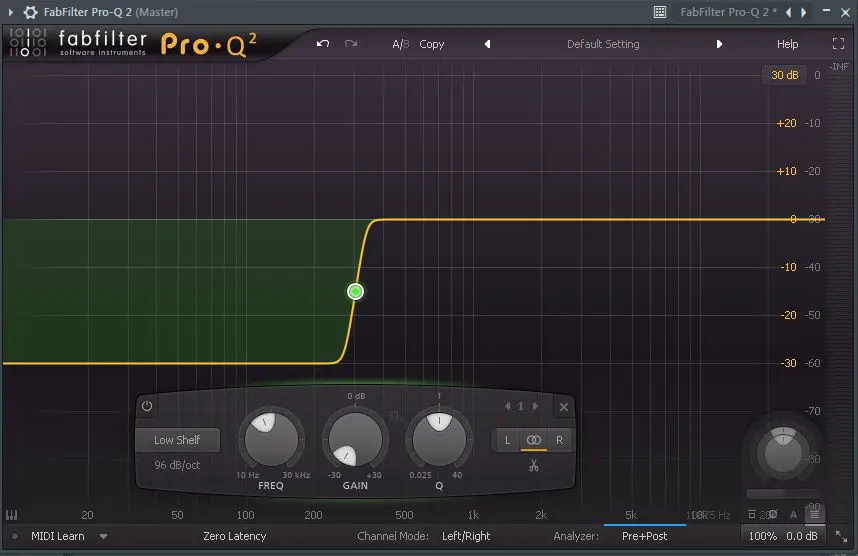
If you’re using a visual EQ you’ll have a clear visual of the frequencies in the lower areas and this can help influence what you set your cutoff frequency to.
If the hi-hat has too many low frequencies it can sound dull even after increasing its volume level, in this case you need to take out some of the low frequencies. You can do this by cutting around the 200 to 300 Hz range.
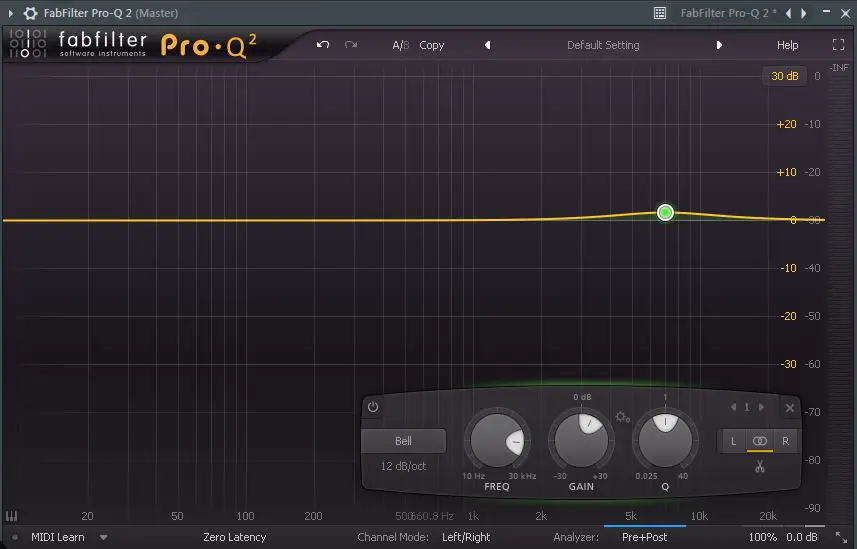
Sometimes muddy hi-hats disappear in your mix and the best way to help them become present and have more clarity is to give them a boost in the upper mid-range.
Hi-hat Dullness
Dull hi-hats will stand to benefit from EQ; you can bring out more of the brightness and sizzle of the hi-hat by boosting the 6-9k range.
This can make them stand out but be careful not to overdo it because it doesn’t take much for a hi-hat to go from sizzle to abrasive.
Hi-hat Thinness
In the case of thin hi-hats you would generally apply slight boosts in the 1 kHz area to give your hi-hat some body.
A lot of cuts are usually made in this region when mixing because unwanted mud and room sounds can build here this is why you need to be careful when boosting these areas.
Clashing
Another common problem that you could encounter when mixing hi-hats is that they can sometimes compete with other instruments like vocals, snares or synths.
In such situations you need to focus on reducing the hi-hats presence in the high frequency range which is above 5 kHz.
You can use a parametric EQ to narrow down your adjustments to this specific frequency range gradually lowering the gain in that area while monitoring the mix for improved clarity.
You can also apply a high pass filter to remove any unwanted low frequencies in the hi-hat.
STEP 2: Balancing with other instruments
Remember that hi-hats should complement other elements in the mix, not overshadow them. Adjust the hi-hat volume in relation to other instruments. If the snare or vocals are essential to the mix, ensure the hi-hats don’t overpower them.
When it comes to EQ there are no “one size fits all” settings; however it is wise to remember that hi-hats in music production typically falls within the range of 1000Hz to 6000Hz.
This range allows hi-hats to cut through the mix and provide a bright, crisp sound. However, the exact frequency can vary depending on the specific style and context of your music.
It’s essential to use your ears and adjust the frequency to fit the mix and your creative vision.
STEP 3: Apply Compression if needed
Compressing hi-hats is a common technique in music production; however, you don’t always have to compress them. It all depends on the context and specific sound you want to achieve.
You can consider compressing hi-hats for the following reasons:
Controlling dynamics
If you have hi-hats with varying levels that make them too prominent or inconsistent, compression can help you even out the volume.
Sustain control
If you have hi-hats with longer sustain than desired, compression can be used to shorten the decay, making them crispier.
Gluing the mix
Compressing the entire drum-kit including hi-hats can help glue the elements together creating a cohesive sound.
If you need to compress your hi-hats; Multiband compression is powerful tool to consider. It allows you to compress specific frequency bands independently. You can use this to tame any erratic transients in the hi-hats while preserving the overall dynamics.
STEP 4: A/B Testing
Always compare your changes by A/B testing. This involves toggling the EQ on and off to hear the difference it makes. This helps you make more informed decisions and ensures that your adjustments are enhancing the sound.
Make any additional adjustments as needed based on specific requirements of your mix. Every track is unique, so trust your ears and make adjustments accordingly.
How to make your hi-hat sound better
Sometimes your hi-hat wont sound right because you could have chosen the wrong hi-hat sample with bad quality, you may not have EQ’d the hi-hat properly, the timing and velocity of your hi-hat may not done right or it could be issues with your mixing of the hI-hat.
Below are some ways you can enhance and make your hi-hats better:
Choose the right sample – Go for a hi-hat sample that has characteristics that you think go well with other elements of the song and can be improved with a little tweaking.
EQ – use EQ the right way. Shape the hi-hats frequency response. Boosting the high frequencies (around 5000 Hz) can make them sound crispier while cutting away unwanted frequencies can clean up the sound.
Panning – Panning can be a great way to give your mix some uniqueness. Hi-hats are typically recorded and mixed in mono because they’re drum instruments and their sound is usually centered in the stereo field, however in some creative scenarios you may experiment with stereo effects or panning to bring in some distinctiveness.
You can also effectively use panning to create a sense of space in the mix. This can help prevent and alleviate things like them clashing with other elements.
Velocity – pay attention to the velocity (how hard they hit) and timing (placement in rhythm) of your hi-hat midi or samples. Variations in velocity and subtle timing adjustments can make them sound more natural and dynamic.
Layering – layering multiple hi-hat samples can add depth and character to the sound. Experiment with different samples to find a combination that works well.
Reverb and delay – adding a touch of reverb or delay to your hi-hats can give them a sense of space and depth. Be cautious not to overdo it, as this can make them sound distant.